

Why add photo tours
Print PDFs force you to pick a few hero shots. A photo tour lets readers open more angles, behind-the-scenes frames, and detail crops without stuffing every image into the layout.
Keep the PDF light. Keep the story rich. Readers stay in the interactive PDF flipbook while they swipe.
Two ways to place photos
Photo Icon
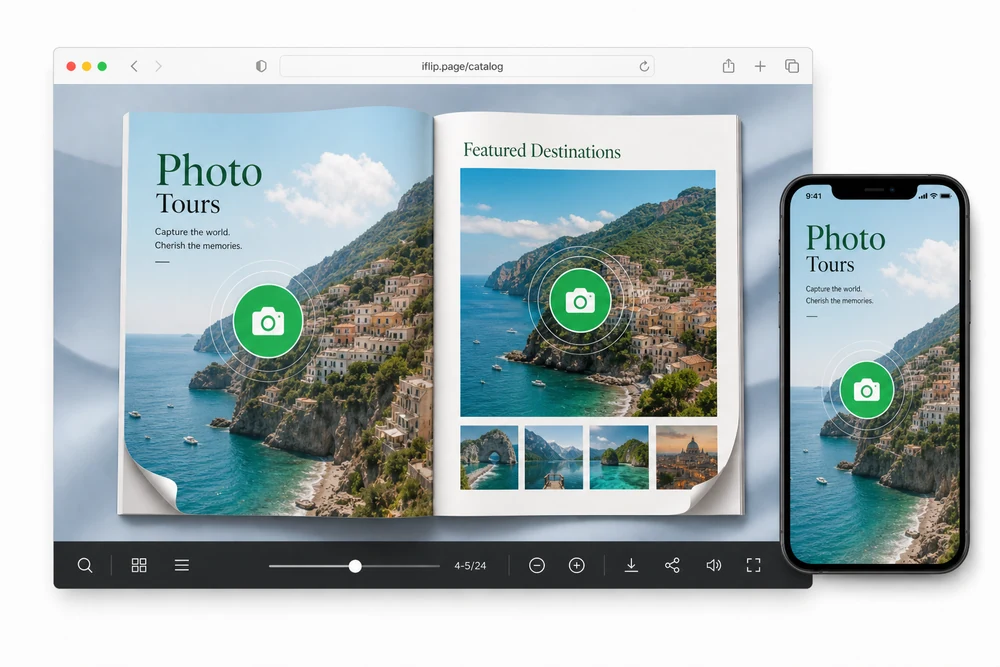
Drop a branded camera marker on the page. Readers tap it and open a fullscreen lightbox with swipe and arrows.
Photo Tour Embed
Draw a region and place up to five images in an on-page carousel. Readers can enlarge any frame in one click.
Both options live under Photo Tour in page media. Use an icon when space is tight. Use an embed when the gallery is part of the design.
How you add one
- Open the flipbook and go to page media.
- Choose Photo Tour.
- Pick Photo Icon or Photo Tour Embed.
- Place or draw it on the page.
- Upload images and set the order.
- Publish. Readers explore without leaving the book.
Common setups
Fashion and lookbooks
Show more outfit angles next to the hero spread.
Real estate
Open room galleries from a floor plan or listing page.
Menus and portfolios
Let guests browse dish or project photos without scrolling a separate site.
Details that matter in practice
- Up to five images per tour embed.
- Lightbox stays inside the flipbook.
- Extra visuals without bloating the PDF file.
- Works with any flipbook style.
FAQ
What is the difference between Photo Icon and Photo Tour Embed?
A Photo Icon opens a full tour in a lightbox. A Photo Tour Embed is an on-page carousel readers can enlarge.
How many images can a tour hold?
Up to five images per tour embed.
Do photos open outside the flipbook?
No. The gallery and lightbox stay inside the flipbook.
Who is this for?
Catalogs, fashion, real estate, menus, portfolios, and any book that needs extra images without bloating the PDF.


